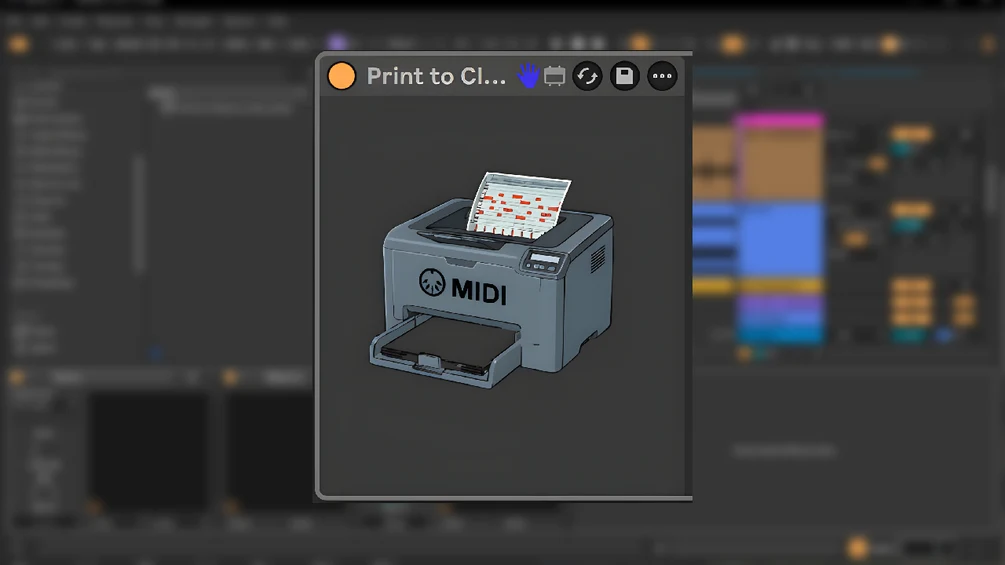
Print to Clip
Key Features
- Captures MIDI generated by arpeggiators, sequencers, randomizers, and other MIDI devices into a new Ableton Live clip
- Works from the end of the existing MIDI device chain, avoiding extra print tracks or manual MIDI routing during idea capture
- Creates the recorded MIDI clip in the first free Session View slot on the same track after the Live transport stops
- Supports multiple instances across a project, so separate tracks can keep their own print workflow ready while writing
- Minimal Max for Live interface is designed to sit naturally inside Ableton rather than becoming another composition surface
- Useful for committing generative MIDI passes before editing notes, arranging sections, or replacing a temporary MIDI device chain
Description
Print to Clip is a Max for Live MIDI utility from urshs that records generated MIDI directly into Ableton Live's Session View. Place it at the end of a MIDI device chain, run the transport, and stop playback when the idea is ready to commit.
The device is built for arpeggiators, sequencers, randomizers, and other generative MIDI tools that usually require extra routing before their output becomes editable clip data. When playback stops, Print to Clip creates a fresh MIDI clip in the first open slot on the same track.
That makes it a workflow helper rather than a sound source. Producers can keep experimenting with MIDI processors, capture the useful pass quickly, and then edit, duplicate, or arrange the printed clip without setting up a dedicated recording track.
The official Gumroad page lists Print to Clip as a pay-what-you-want download with a zero-dollar product price, while Rekkerd reports that the download includes a free option. It requires Ableton and Max for Live, so it is aimed at Live Suite users or Live Standard users who own Max for Live separately.
Video Preview

Frequently Asked Questions
Where should Print to Clip go in an Ableton track?
The official Gumroad instructions say to place it at the very end of the MIDI device chain. That lets it capture the final MIDI output after arpeggiators, sequencers, randomizers, or other MIDI processors have done their work.
What happens when playback stops?
Print to Clip automatically generates a fresh MIDI clip with the captured notes. The official page says the clip is placed in the first free clip slot on the same track.
Does it generate melodies by itself?
No. Print to Clip is a capture and printing utility, not a melody generator. It is most useful alongside MIDI tools that already create or transform note data.
What Ableton setup does it require?
The official Gumroad page states that it requires Ableton and Max for Live. Rekkerd adds that it is for Ableton Live Suite or Live Standard with Max for Live installed.


