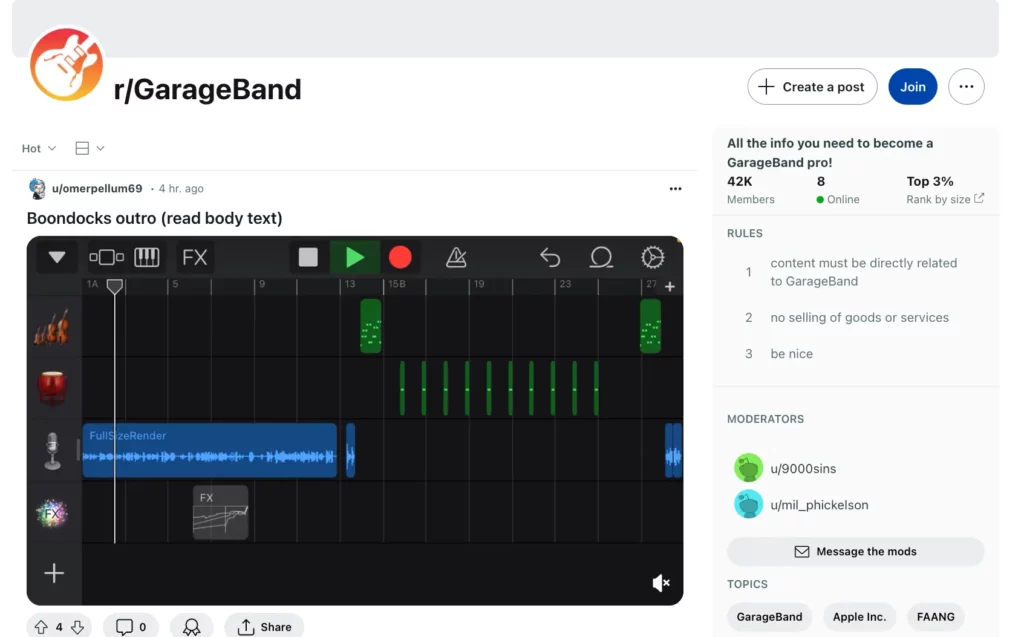
Using GarageBand iOS might make you believe there aren’t any great free or paid plugins to mix your vocals.
This couldn’t be further from the truth.
GarageBand’s stock plugins are freaking amazing for mixing your vocals.
And there are plenty top plugin companies like FabFilter that have AUv3 formats of their plugins so they can be used in GarageBand iOS.
In this article, we will provide you with the best free and paid vocal VST plugins for GarageBand iOS so you can mix your vocals on a professional level.
Top Free Vocal VST Plugins for GarageBand iOS
While there aren’t many free third-party stock vocal VST plugins for GarageBand iOS, the stock plugins provided by GarageBand are excellent and can help create professional-sounding vocals.
Here are some of the top free vocal plugins GarageBand iOS available:
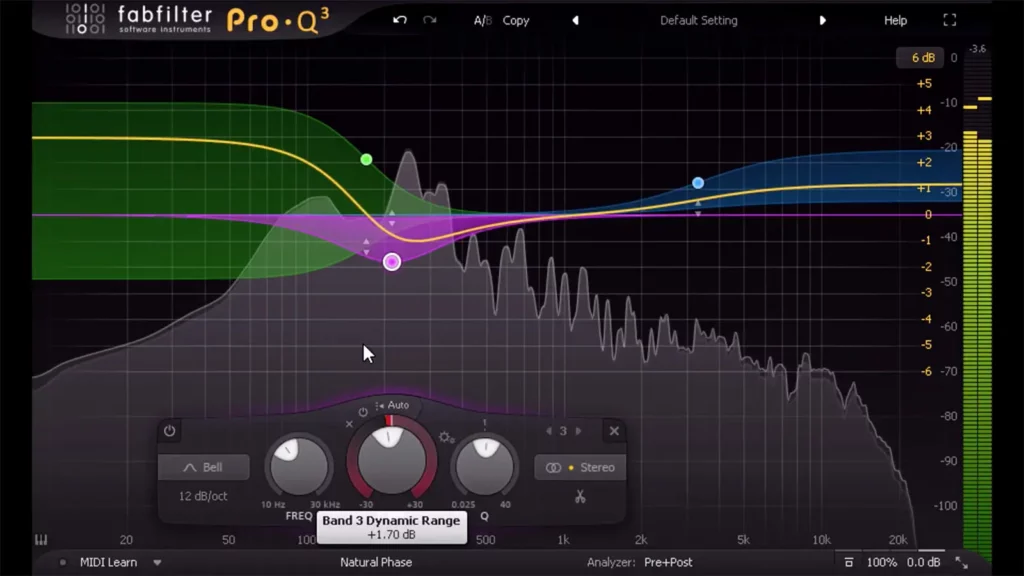
FabFilter Pro-Q 3 is an advanced equalizer that offers up to 24 bands for precise tonal shaping. It’s a favorite among professional producers for its versatility and precision.
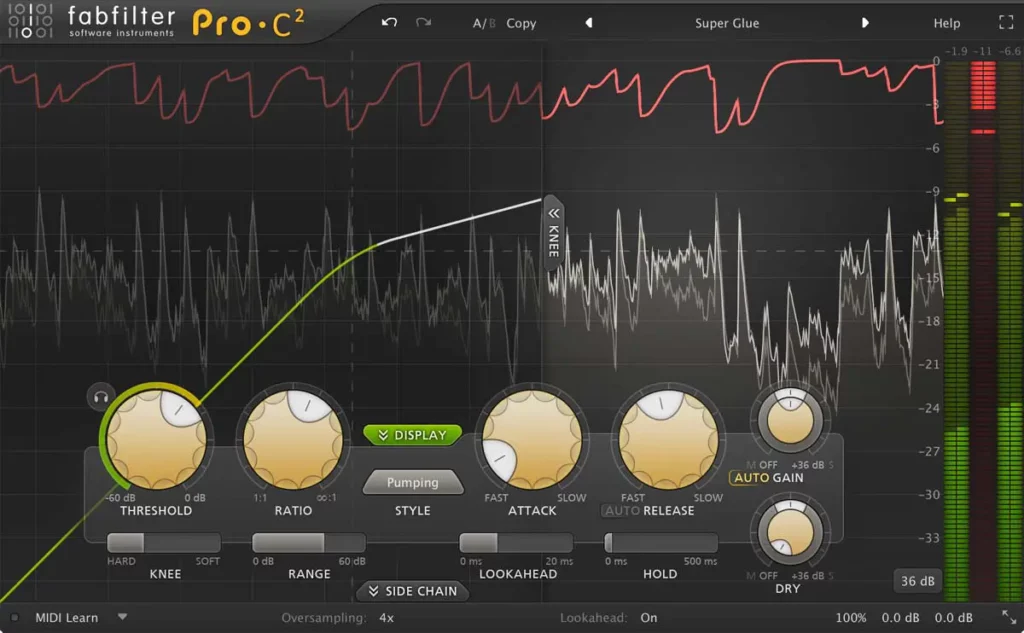
FabFilter Compressor offers advanced compression with multiple modes, allowing you to control the dynamic range of your vocals with precision. It’s known for its high-quality sound and versatility.
Magic Switch is a simple yet effective chorus plugin that adds a lush, wide sound to your vocals. It’s perfect for adding depth and dimension to your vocal tracks.
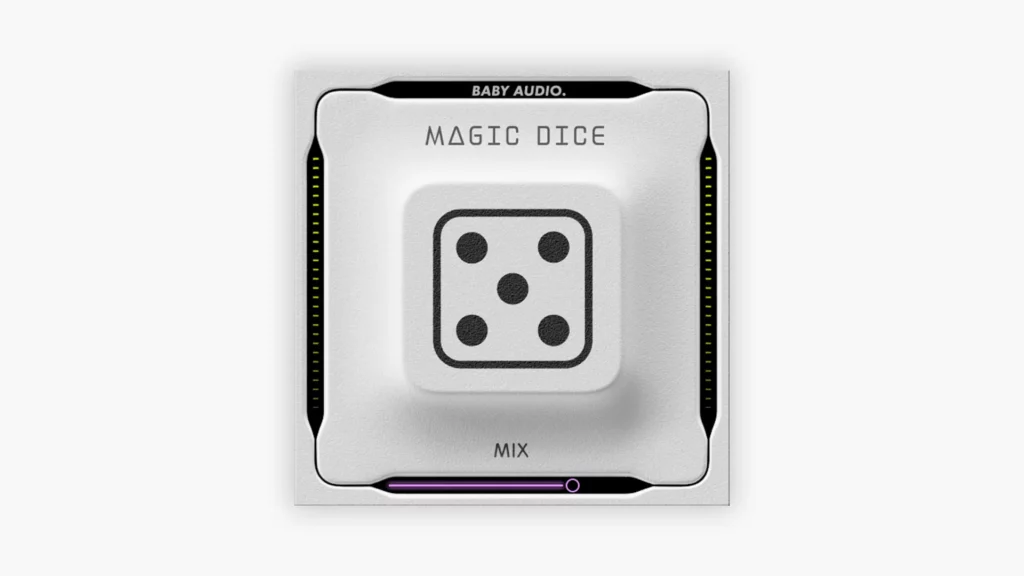
Magic Dice is a randomized multi-effect plugin that adds a variety of effects to your vocals with a single button press. It’s great for experimenting with different sounds and effects.
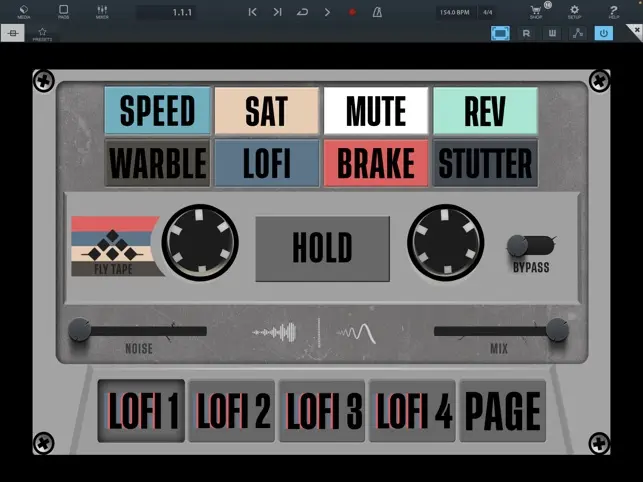
FlyTape 2 offers tape emulation effects that add vintage warmth and character to your vocals. It’s perfect for creating a retro sound.
Features
Tape emulation effects
Adjustable parameters for fine-tuning
High-quality sound
Pros and Cons
Pros: Adds vintage warmth, versatile
Cons: Can be CPU-intensive
How to Install and Use Free Vocal VST Plugins in GarageBand iOS
Installing and using third-party plugins in GarageBand iOS is a straightforward process. Here’s a step-by-step guide:
Download the Plugin: Download the desired plugin from the App Store or the developer’s website.
Open GarageBand: Launch GarageBand on your iOS device.
Create a New Project: Start a new project or open an existing one.
Add a Track: Add a new audio track for your vocals.
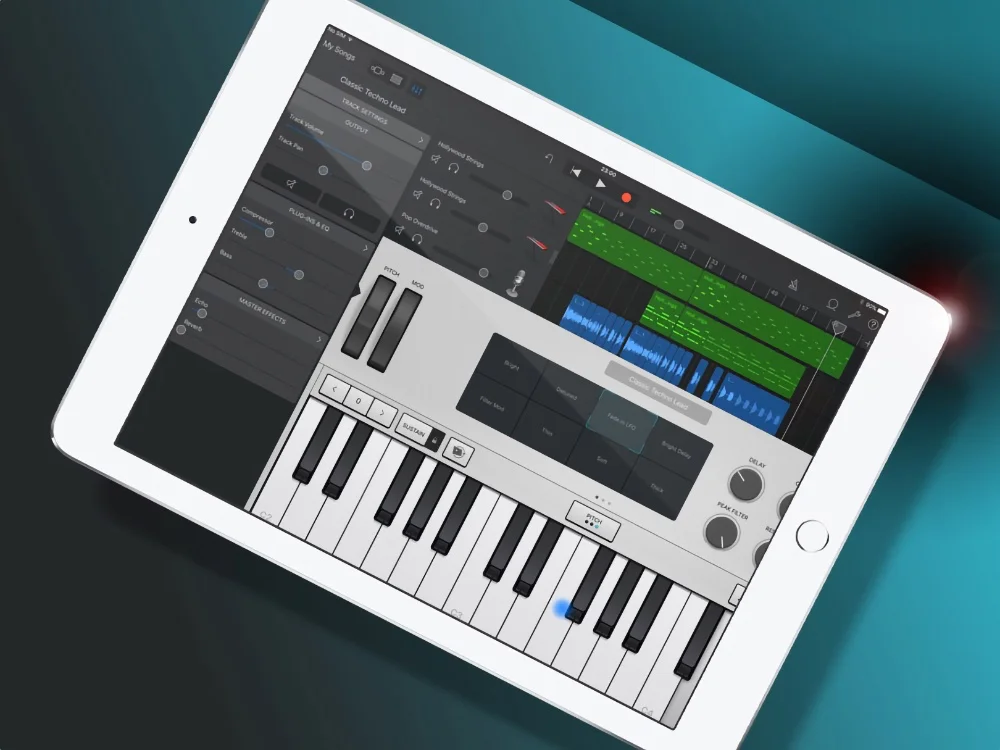
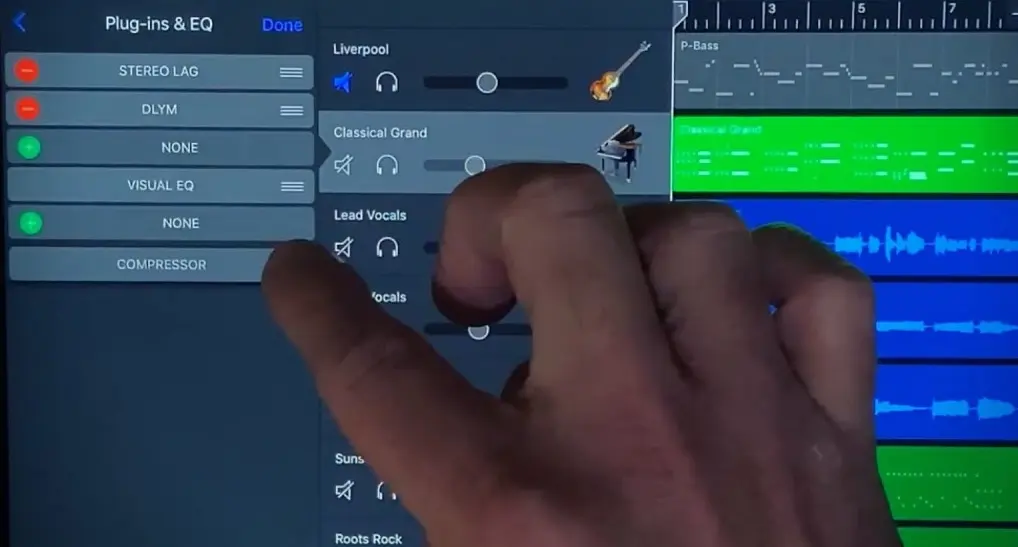
Access Plugins: Tap on the “Track Settings” option, then choose “Plug-Ins and EQ.”
Add Plugin: Click “Edit,” then “None,” and choose “Audio Unit Extensions.” Select the plugin you downloaded.
Adjust Settings: Adjust the plugin settings to suit your needs.
Tips for Optimizing Vocal Recordings in GarageBand iOS
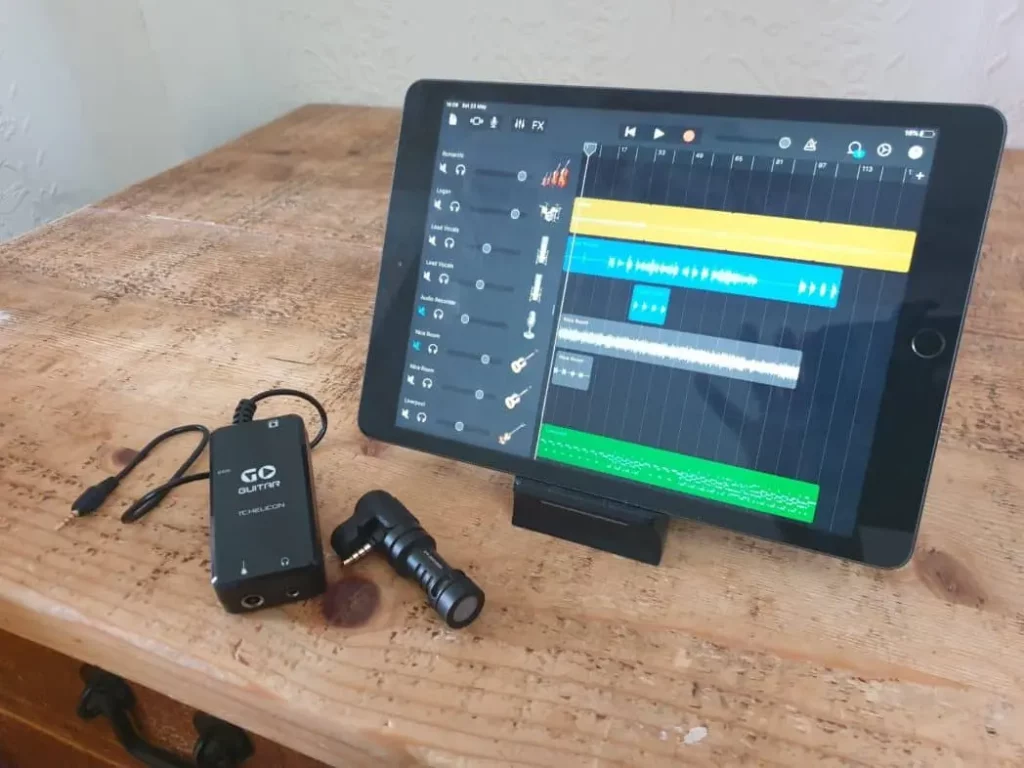
Microphone Selection and Setup
Importance of using a good quality microphone
Using a high-quality microphone is crucial for capturing clear and detailed vocal recordings. Invest in a microphone that suits your vocal style and provides the best sound quality.
Tips for setting up the microphone for optimal recording:
Position the microphone at an appropriate distance from your mouth.
Use a pop filter to reduce plosives.
Ensure the microphone is stable and secure.
Recording Environment
How to create a suitable recording environment
Choose a quiet room with minimal background noise.
Use acoustic treatment to reduce echo and reflections.
Close windows and doors to minimize external noise.
Tips for reducing background noise and echo
Use a noise gate plugin to eliminate unwanted noise.
Record in a room with soft furnishings to absorb sound.
Avoid recording near noisy appliances or electronics.
Using Pop Filters and Vocal Shields
Benefits of using pop filters and vocal shields
Pop filters reduce plosive sounds (like “p” and “b”).
Vocal shields help isolate the microphone from background noise.
How to set them up correctly
Position the pop filter a few inches in front of the microphone.
Place the vocal shield behind the microphone to block unwanted noise.
Advanced Techniques for Vocal Processing in GarageBand iOS
Parallel Compression
Parallel compression involves blending a heavily compressed version of the vocal track with the original track. This technique adds punch and presence to the vocals without sacrificing dynamics.
Step-by-step guide to setting it up in GarageBand iOS:
Duplicate the vocal track.
Apply heavy compression to the duplicate track.
Blend the compressed track with the original track to taste.
Layering Vocals
Techniques for layering vocals to create a fuller sound:
Record multiple takes of the same vocal part.
Pan the layers left and right for a wider sound.
Use different effects on each layer for added depth.
How to use GarageBand’s features to achieve this:
Use the “Duplicate Track” feature to create multiple layers.
Adjust the panning and volume of each layer.
Apply different effects to each layer for a unique sound.
Automation
Using automation to enhance vocal tracks: Automation allows you to control various parameters (like volume, panning, and effects) over time. This can add movement and interest to your vocal tracks.
Tips for automating volume, panning, and effects:
Use volume automation to smooth out dynamic changes.
Automate panning to create a sense of movement.
Apply effects automation to add variation and interest.
Community and Learning Resources for GarageBand iOS